How to create a simple module in Magento 2.0
Hi buddies,
I'm Nicolas Bui, a Mage-World developer. It is great to see you in our Magento 2 tutorial series!
As you know, the beta version of Magento 2 was released several months ago and after that there are some updates on this beta version as well. With developers, Magento 2.0 is quite challenging because resources to learn are very limited.
Understand such difficulties, MageWorld are happy to introduce you a tutorial series on Magento 2.0. We hope you will enjoy them and make use of it easily!
Let’s get started with the first post: “How to create a simple module in Magento 2.0”
In this blog post, we use the Magento 2 version 1.0.0-beta, which is the newest beta version released in middle of July, 2015.
1. The structure of a simple module:
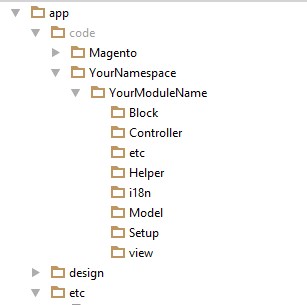
Unlike Magento 1.x, the local, core and community folders were not available. Instead of that, Magento 2 replaced its core folder with Magento folder in app/code path.
The change of folders of a module in Magento 2:
- i18n: This folder stores the .csv files for module translator. Eg: en_US.csv, de_DE.csv.
- Setup: This folder stores the files which are used to create tables or insert data to the database. It is just like the sql folder in Magento 1.x.
- view: This folder stores the layout, template, image, CSS and Javascript files which are used for your module.
2. Creating a simple module in Magento 2:
Let’s create folders with the structure as following:
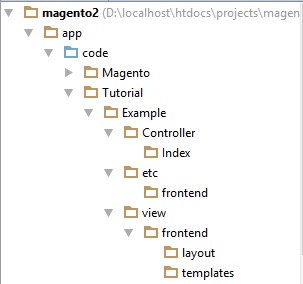
Namespace: Tutorial
Module name: Example
Example link on localhost: http://localhost/magento2/example/index/index/
Step 1: Create configuration files.
- Create file: app/code/Tutorial/Example/etc/module.xml (Purpose: This file will declare your module) and insert this following code into it:
<?xml version="1.0"?>
<config xmlns:xsi="http://www.w3.org/2001/XMLSchema-instance" xsi:noNamespaceSchemaLocation="..
/../../../../lib/internal/Magento/Framework/Module/etc/module.xsd">
    <module name="Tutorial_Example" setup_version="1.0.0">

    </module>
</config>
- Create file: app/code/Tutorial/Example/etc/frontend/routes.xml (Purpose: The router of your module for frontend will be declared here):
<?xml version="1.0"?>
<config xmlns:xsi="http://www.w3.org/2001/XMLSchema-instance" xsi:noNamespaceSchemaLocation="..
/../../../../../lib/internal/Magento/Framework/App/etc/routes.xsd">
    <router id="standard">
        <route id="example" frontName="example">
            <module name="Tutorial_Example" />
        </route>
    </router>
</config>
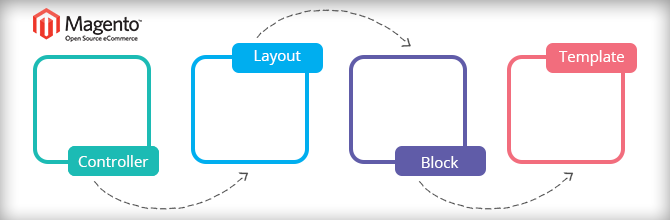
Step 2: Create controller, layout and template files.
After creating the configuration files, we will start with controller, layout and template files.
- Create the controller file: app/code/Tutorial/Example/Controller/Index/Index.php and put this code:
<?php

namespace Tutorial\Example\Controller\Index;

use Magento\Framework\App\Action\Context;
use Magento\Framework\View\Result\PageFactory;

class Index extends \Magento\Framework\App\Action\Action
{
    /**
     * @param Context $context
     * @param PageFactory $resultPageFactory
     */
    public function __construct(
        Context $context,
        PageFactory $resultPageFactory
    )
    {
        parent::__construct($context);
        $this->resultPageFactory = $resultPageFactory;
    }

    public function execute()
    {
        $resultPageFactory = $this->resultPageFactory->create();

        // Add page title
        $resultPageFactory->getConfig()->getTitle()->set(__('Example module'));

        // Add breadcrumb
        /** @var \Magento\Theme\Block\Html\Breadcrumbs */
        $breadcrumbs = $resultPageFactory->getLayout()->getBlock('breadcrumbs');
        $breadcrumbs->addCrumb('home',
            [
                'label' => __('Home'),
                'title' => __('Home'),
                'link' => $this->_url->getUrl('')
            ]
        );
        $breadcrumbs->addCrumb('tutorial_example',
            [
                'label' => __('Example'),
                'title' => __('Example')
            ]
        );

        return $resultPageFactory;
    }
}
- Create the layout file: app/code/Tutorial/Example/view/frontend/layout/example_index_index.xml
<?xml version="1.0" encoding="UTF-8"?>
<page xmlns:xsi="http://www.w3.org/2001/XMLSchema-instance" layout="3columns"
xsi:noNamespaceSchemaLocation="../../../../../../../lib/internal/Magento/Framework/View/Layout/
etc/page_configuration.xsd">
    <body>
        <referenceContainer name="content">
            <block class="Magento\Framework\View\Element\Template" name="tutorial_example_block"
 template="Tutorial_Example::index.phtml" />
        </referenceContainer>
    </body>
</page>
- Create the template file: app/code/Tutorial/Example/view/frontend/templates/index.phtml
<h1><?php echo __('This is an example module!') ?></h1>
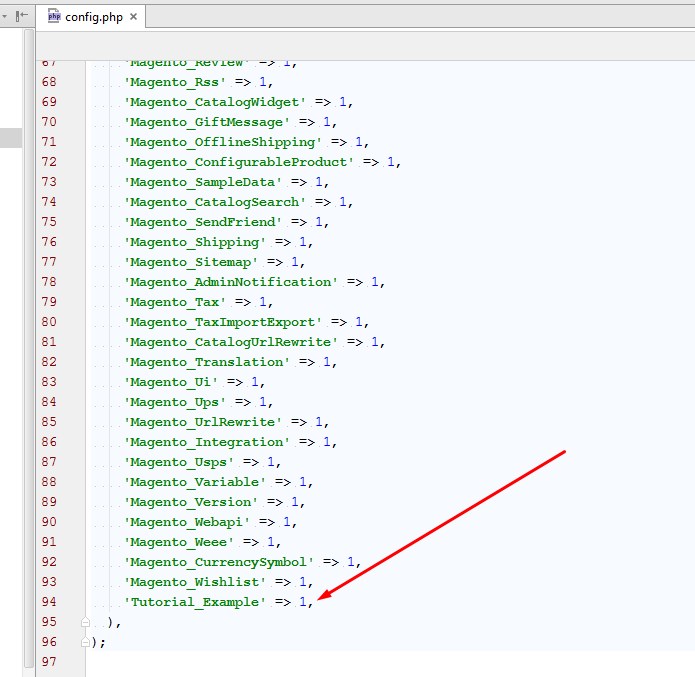
Step 3: Activate the module in the configuration file of Magento 2
We will active this module by opening app/etc/config.php file then add this line into it:
Then open the Command in Windows (or the Terminal in Linux and MAC OS). Go to your Magento root folder and run this command line to install your module:
bin\magento setup:upgrade
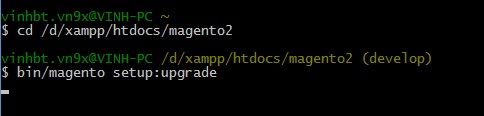
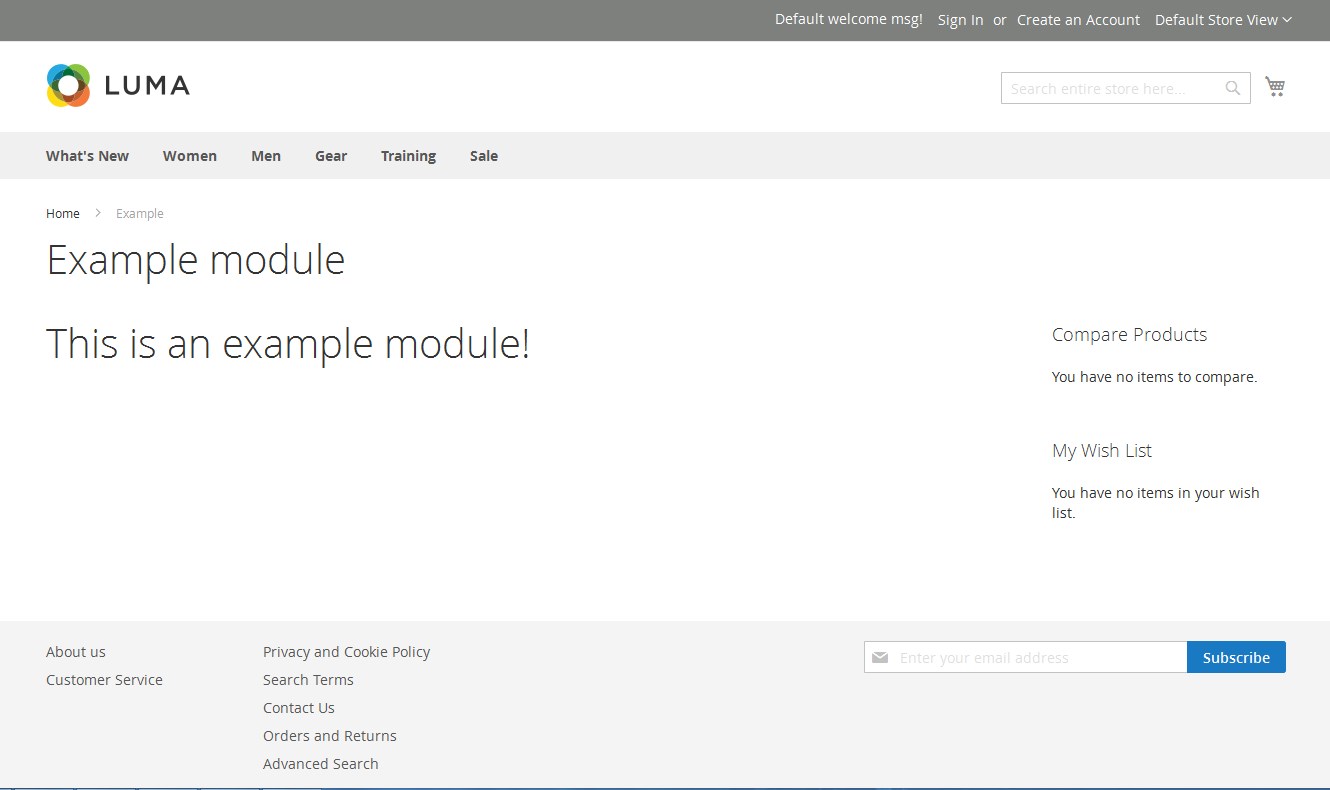
Finally, clear the Magento cache then access with url http://localhost/magento2/example/index/index/ and this is the result:
I hope this tutorial is useful for you and see you again in our next Magento 2 tutorial, which is “Create a module with custom database table in Magento 2.0”.
Related Posts
Lesson 3 - The Model, collections & layout
Lesson 2 - The model and the database